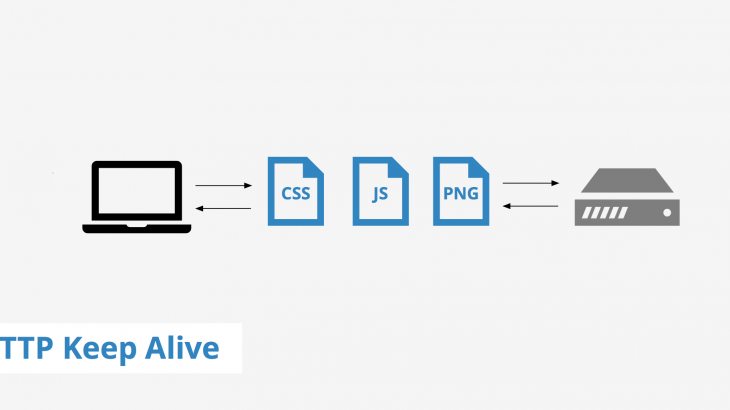
Keep Alive header or HTTP persistent connection improves website speed and performance by using single TCP connection for multiple HTTP requests. So it is advisable to enable Keep Alive for your website. Here’s how to enable Keep Alive in Apache in CentOS/Ubuntu.
How to Enable Keep Alive in Apache
By default, Keep Alive is disabled in Apache web server. Here’s how to enable Keep Alive in Apache.
What does keep alive do?
Typically, any server including Apache creates a new TCP connection for every request. This requires authentication and multiple handoffs every time. Since every requested page sends multiple requests, this can take a lot of time especially with many concurrent users. If you enable KeepAlive header in Apache web server, it will create TCP connection the first time and then use the same TCP connection to transfer all future requests as long as the person is using your site. This improves website speed and performance by saving a lot of time.
1. Open Apache Config File
Open terminal and run the following command to open Apache server configuration file.
CentOS/Fedora:
$ sudo vi /etc/httpd/conf/httpd.conf
Ubuntu/Debian:
$ sudo vi /etc/apache2/apache2.conf
If you want to enable Keep Alive in WordPress CPanel, then you will have to enable Keep Alive using .htaccess file. In that case, open your .htaccess file at /www/var/html/.htaccess. If it doesn’t exist, create a new blank file with filename .htaccess there.
Bonus Read : How to Change Port Number in Apache
2. Enable Keep Alive in Apache
Add the following lines as per your requirement. In some cases they might be commented using a # sign at the beginning. Just remove it to enable these settings. There are 3 Keep Alive settings in Apache – KeepAlive, MaxKeepAliveRequests, KeepAliveTimeout
# KeepAlive: Enable/disable persistent connections
KeepAlive On


# MaxKeepAliveRequests: How many requests to allow during a persistent connection.
# You can set it 0 for unlimited requests, but it is not recommended.
MaxKeepAliveRequests 100


# KeepAliveTimeout: Number of seconds to wait for the next request from the
# same client on the same connection. Default is 5 seconds
KeepAliveTimeout 15
Bonus Read : How to Remove Server Name from Apache Response
3. Restart Apache Server
Restart Server to enable Keep Alive in Apache.
$ sudo systemctl restart apache2 #SystemD
$ sudo service apache2 restart #SysVInit
4. How to Know If Keep-Alive is Enabled
Are you wondering, “How to know if Keep Alive is enabled and working?”. There are many online tools where you can enter your website URL and they will tell you whether Keep Alive is enabled or not.
That’s it! Now Apache Keep Alive TCP connections for all users and speed up your website.
That’s it! Now Apache Keep Alive TCP connections for all users and speed up your website. By the way, if you want to create charts & dashboards to monitor your business or website, you can try Ubiq. We offer a 14-day free trial.
